Screenshots are indispensable for communicating errors, sharing highlights, or preserving ephemeral content. Yet many of us still rely on clumsy workflows—juggling multiple apps, hunting down files, or tediously cropping and labeling with generic tools. What if you could capture, polish, and dispatch a screenshot in seconds using only the features your device already offers? From hidden keyboard commands to automation rules, these built-in tricks streamline every step of the screenshot lifecycle, whether you’re on a phone or a desktop. Read on to discover how to capture, edit, organize, and share your screen images faster than ever.
Mastering Native Capture Shortcuts
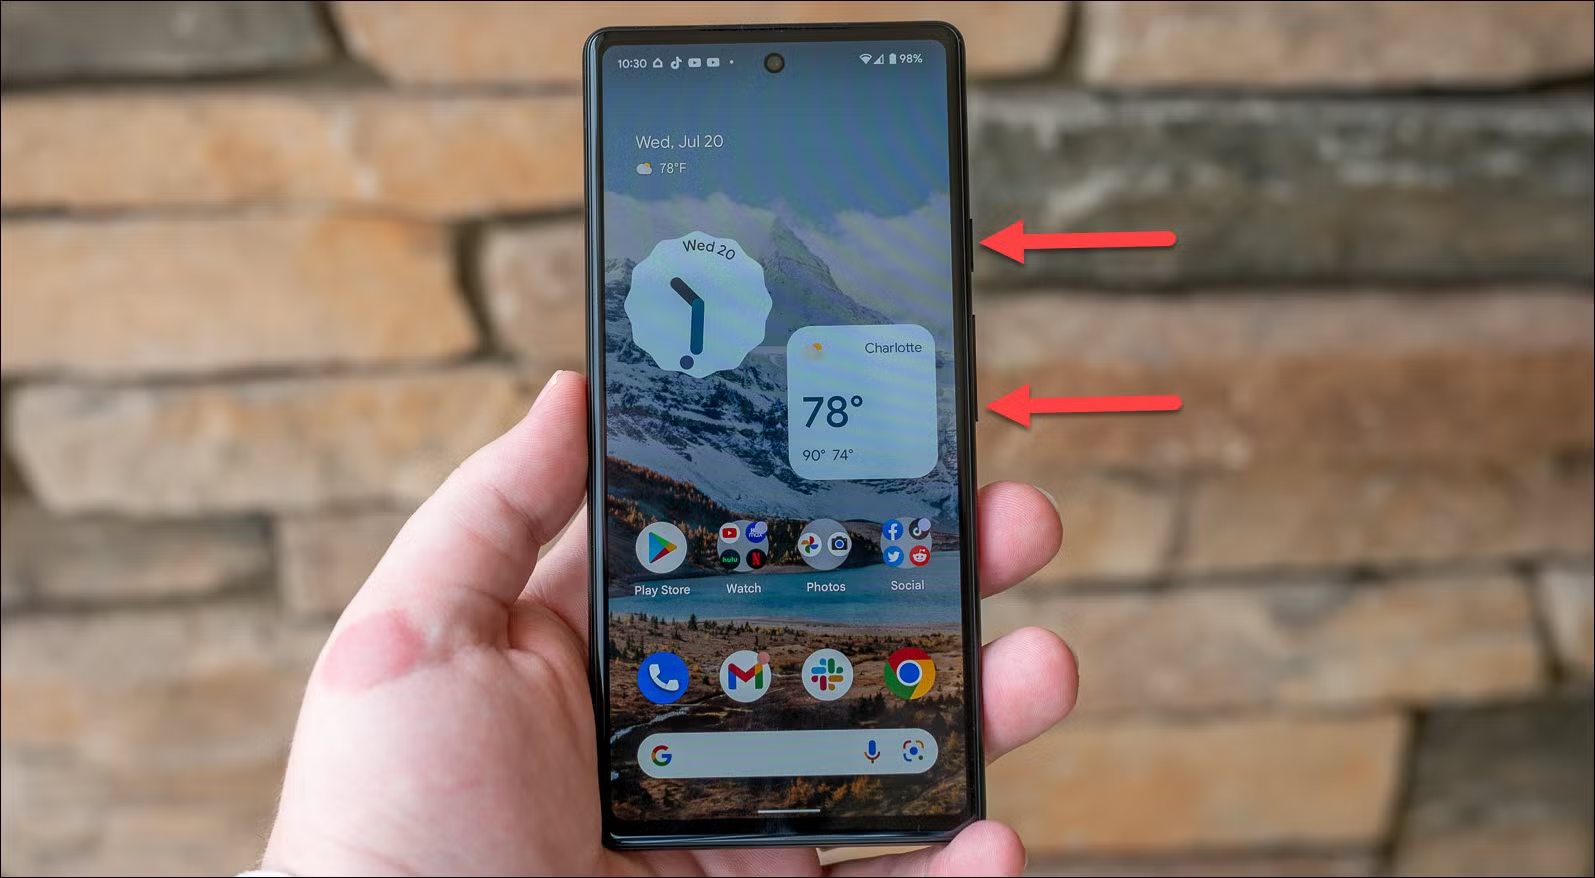
On both mobile and desktop platforms, you can bypass any third-party tools by learning the most efficient native shortcuts. iOS users can set up a double-tap gesture on the back of the device (through Settings → Accessibility → Touch → Back Tap) to trigger a screenshot instantly. Android enthusiasts can enable a three-finger swipe in the system’s Gestures menu or say “Hey Google, take a screenshot” without touching any buttons. Windows 10 and 11 provide the Win+Shift+S combination to launch the Snip & Sketch overlay, letting you choose region, window, or full-screen captures. macOS integrates multiple modes—Command+Shift+3 for full-screen, Command+Shift+4 for selections, and Command+Shift+5 for on-screen controls to record or capture. By memorizing these native shortcuts, you eliminate fumbling and get straight to capture.
Instant In-Place Editing and Annotation
Once you’ve snapped an image, the fastest way to call out details is with your system’s built-in editor. On iOS, tap the floating thumbnail to reveal markup tools—pens, shapes, text boxes, and even a signature option. Android’s post-capture toolbar offers crop, rotate, markup, and blur tools right in the notification shade; no need to open a separate gallery or photo app. Windows users can press the notification in Snip & Sketch to annotate with pens, highlighters, and a ruler, then click “Copy” or “Save As” without ever leaving the tool. On macOS, the screenshot thumbnail expands into a preview with markup icons for drawing, text, magnification, and cropping. Because these editors launch automatically on each capture, you can immediately highlight an error message, circle a button, or add a brief note before sharing—no app switching required.
Automated Organization with Folders and Naming Schemes
A chaotic screenshot library is a silent productivity killer. Fortunately you can automate sorting and naming using only system features. On iOS, create a Shortcut in the Shortcuts app that triggers after a screenshot and moves the image into a date-based album within Photos, optionally renaming it with the current timestamp via an action. Android’s built-in Google Photos backup organizes screenshots by default, but you can refine this: go to Photos settings → Back up & sync → Back up device folders, then toggle on “Screenshots” to have them appear in a dedicated folder. Windows offers native folder redirection—open the Pictures → Screenshots folder properties, click “Location,” and choose a custom directory on a faster drive or network share. macOS users can open Terminal and run defaults write com.apple.screencapture location ~/Screenshots; killall SystemUIServer to set a new screenshot folder. By automating folder placement and leveraging date- or project-based naming, you’ll never hunt for that elusive image again.
Quick Sharing without Leaving Your Screen
The moment you capture and annotate, you want that screenshot in Slack, email, or a project doc—yesterday. Modern systems let you share directly from the screenshot UI. On iOS and iPadOS, tap the Share button in the markup view to dispatch via Messages, Mail, or any share extension. Android’s post-capture notification includes a share icon that populates the standard Android share sheet, letting you send to WhatsApp, Gmail, or Drive in two taps. Windows’ Snip & Sketch includes a Share button that brings up the native share pane—choose Teams, Mail, or a local network drop. In macOS’s preview, click the share icon in the toolbar to AirDrop the image to nearby Apple devices, or post to Mail, Messages, or Safari for quick embedding. Because you never need to open a separate app or copy and paste a file path, you maintain context and momentum as you share.
Cross-Platform Sync and Universal Clipboard
If you work across multiple devices, you can leverage built-in cloud sync and clipboard sharing instead of emailing screenshots to yourself. iOS and macOS users benefit from Universal Clipboard in the Apple ecosystem—copy a screenshot on your iPhone, and it’s instantly available to paste on your Mac. Ensure both devices are signed into the same iCloud account, have Bluetooth enabled, and are on the same Wi-Fi network. Android and Windows 10/11 now support cloud clipboard in certain builds—on Windows, activate Cloud Clipboard in Settings → System → Clipboard and toggle “Sync across devices.” Pair it with the Your Phone app to view Android screenshots directly on your PC. Google Chrome’s Send to Your Devices feature also allows quick cross-device transfer of any captured content. By tying your screenshot workflow into these native sync channels, you eliminate friction and keep your images seamlessly available wherever you need them.


Leave a Reply